How To Make a Wooden Puzzle
If you really want to bring difficulties to a group of adults, please give them a child’s toy. Usually, seemingly simple puzzles may be the biggest challenge, and this small wooden puzzle is more difficult to assemble than it seems. However, making one is very simple. We put together some walkthroughs and showed you how to complete them.
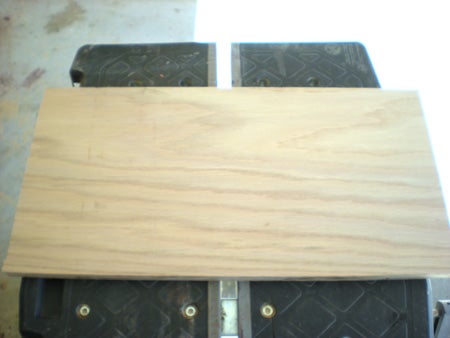
Step 1: Pick the plank
First, start with any size blank you want-in this case, a 22″ x14″ 3/4″ laminate. It is really not important to choose super quality wood, but if you want to use colored Oil will finish stains and glue you can definitely do it.
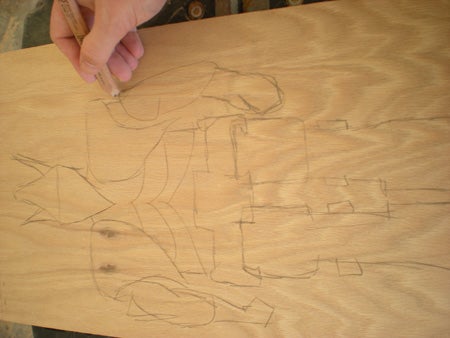
Step 2: Draw a beautiful picture
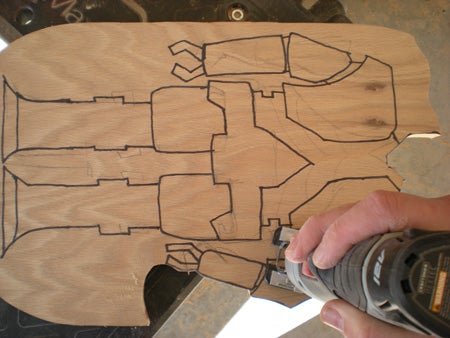
Use a pencil to draw any puzzle you want on the wood. Leave a little space on the sides and top for later use. Make an interesting shape that is close to the shape you want, and remember that any shape you make must be cut out with a saw blade so that the fine details will not get style points anyway.
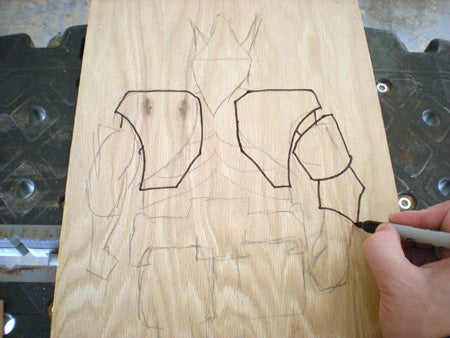
Step 3: Mark
When you are satisfied with the shape, you can use a marker, pen, or heavier pencil to browse the shape. Please note that our robot is very different from the way we have first drawn it. It doesn’t matter, no one will know when it’s done.
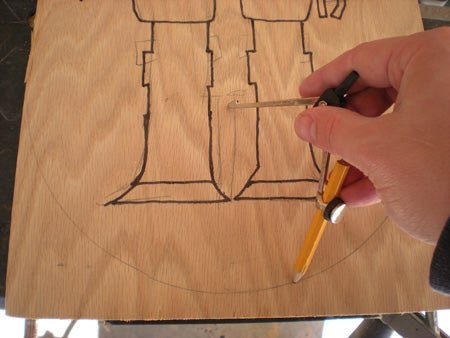
Step 4: Copy the appearance
Our puzzle will be completely cut out of wood, so we used a simple small compass to draw an arc at the top and bottom, and draw connecting lines between them to outline the shape.
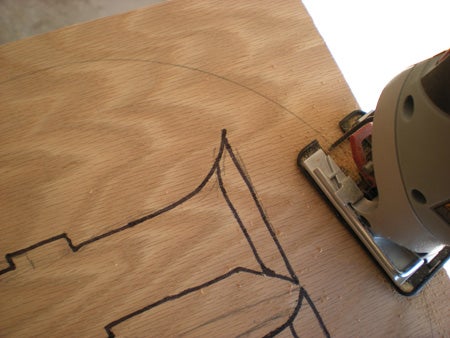
Step 5: Cut the shape
Next, we cut out the shape from the wood.
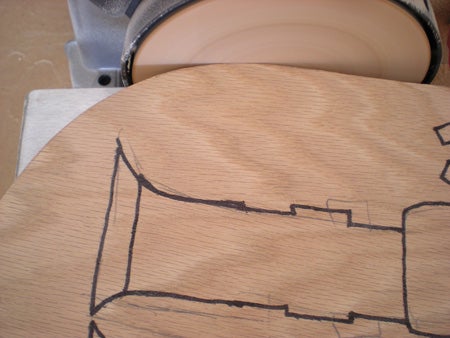
Step 6: Polish the shape
If your cutting effect is not the best, don’t despair. Use a sander to make the rough shape uniform and smooth.
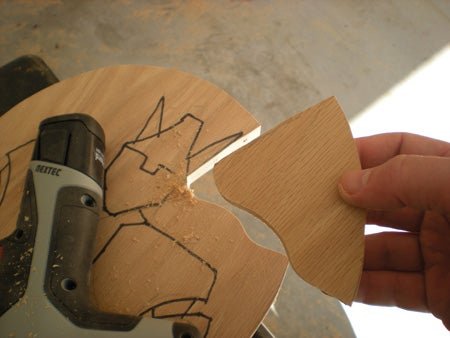
Step 7: Cut odd shapes
The real trick to this type of puzzle is to make the shape look weird but not super distinctive. The human eye is good at picking patterns, so don’t give them any simple patterns. Makes the shape unique, but a bit like waves and spots.
Step 8: Cut more pieces
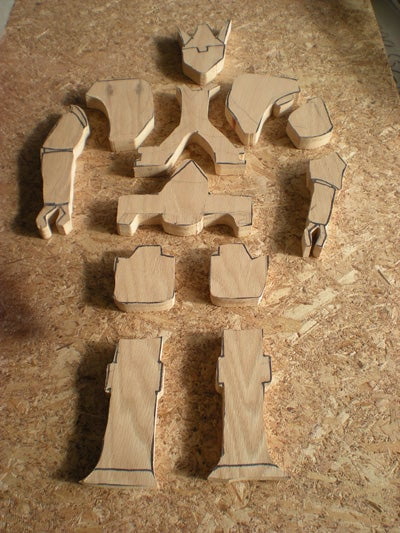
Cut the rest of the puzzle.
Step 9: Almost done
At this point, you can call it to finish after polishing its traces, and then let people use it, but we went in a different direction.

Step 10: Paint preparation
In order to give our friends a chance to exercise, we decided to add a little paint on it and color code for our robot friends. A little bit of color helps a lot here. After separation, the robot received indoor/outdoor black enamel paint, and the frame received a safe yellow dose.
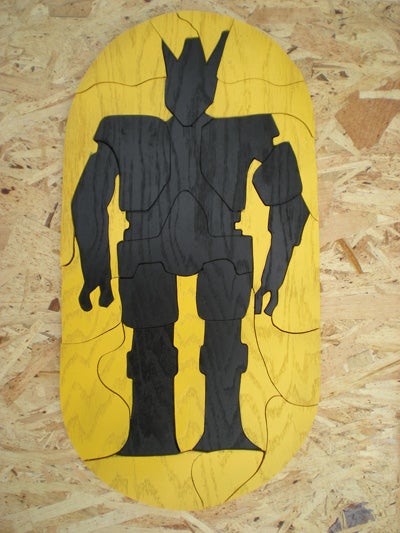
Step 11: Finish
The final product looks pretty good. This is friendly and humble, but much bigger than the average adult often admits. Don’t believe us? Make your own version, mix the parts, and reassemble. Our 30-piece jigsaw puzzle uses color-coding, and it takes an average of 13 minutes for each adult, while it takes 23 minutes without color-coding.